Portable Guitar Amp Sample Approval Checklist for OEM Buyers
A practical OEM checklist for checking sound, controls, Bluetooth, rechargeable power, branding and packaging before approving a portable guitar amp sample.
A portable guitar amp sample can look ready long before it is ready for production. The enclosure color is right, the logo sits in the correct place, and the first chord sounds fine. That is usually the moment when a team is tempted to send a quick “approved” message.
It is also where avoidable problems begin. A control may behave differently after repeated use. Bluetooth may connect but handle reconnection poorly. A battery claim may be based on an easy test rather than normal playing conditions. Packaging that survives a local courier trip may not be ready for export cartons.
For an OEM buyer, the sample is not just a product demonstration. It is the reference that purchasing, quality control and the factory should all be able to follow. The checks below are the ones we would rather settle before mass production, while changes are still manageable.
1. Freeze the configuration before testing
Start with a short configuration sheet. It should identify the exact sample, enclosure color, control layout, selected functions, connections, power method, included accessories, label artwork and packaging version. If one of these items is still undecided, mark it as open instead of letting each team assume something different.
This matters because two samples with the same model name can still have different internal configurations. A buyer may test one version while the quotation or artwork belongs to another. The sample number, photos and configuration sheet should point to the same unit.
2. Test sound and controls like a normal player
A five-minute desk test is useful, but it is not enough. Plug in more than one guitar if possible. Move every control through its usable range, switch channels several times, and listen at low and higher practice volumes. The aim is not to decide whether one tone is “best.” It is to check whether the approved functions behave consistently and whether the control range makes sense for the intended user.
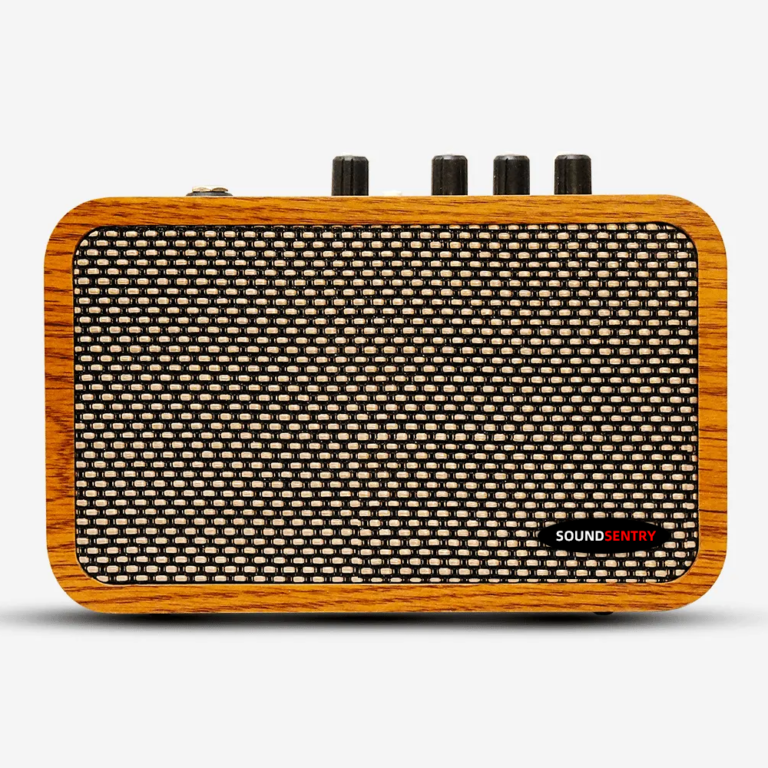
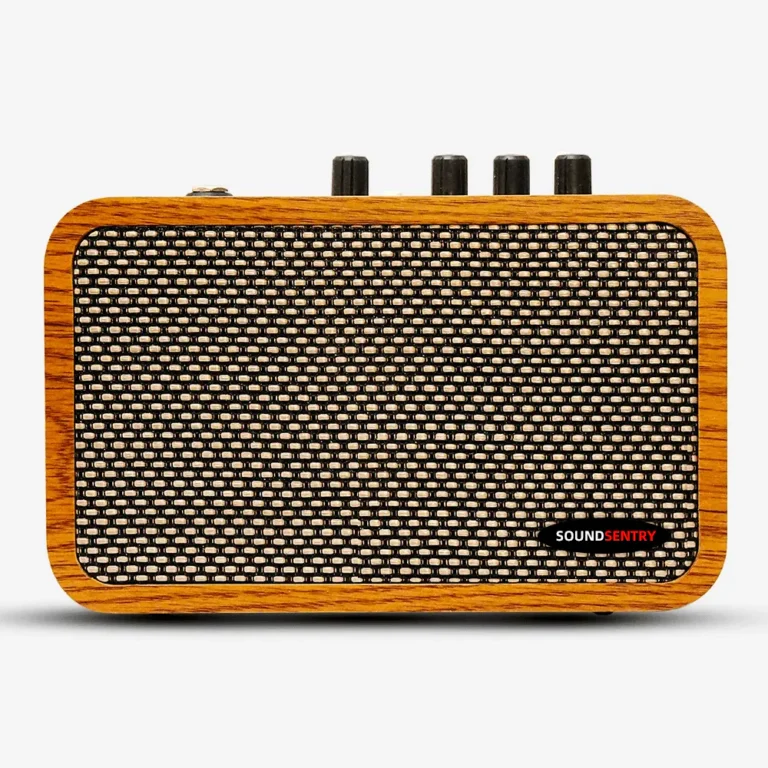
For a model such as the QG-15 portable electric guitar amp, the published configuration includes clean, distortion, reverb and chorus functions. During approval, each selected function should be checked separately and then in the combinations a player will actually use. Record the knob positions or control settings used for the reference test.
3. Check noise, switching and repeated operation
Small issues often appear only after repetition. Switch between clean and distortion more than once. Connect and disconnect the input cable. Turn the unit off, wait, and start it again. Listen for unexpected pops, level jumps, intermittent controls or background noise that was not present at the beginning of the test.
If a result is subjective, make it easier to compare. Use the same guitar, cable, room and approximate control settings for the follow-up sample. A short phone video with the control panel visible can be more useful than a long message saying the sound is “slightly different.”
4. Treat Bluetooth and external audio as separate checks
“Bluetooth works” is too broad for sample approval. Confirm the pairing process, reconnection after power cycling, playback level and the way external audio sits alongside the guitar signal. Test with the type of phone or tablet the target customer is likely to use.
The QG-15 configuration also lists external audio and internal recording functions. Those should be checked with the actual cables, devices and workflow expected in the market. If an app, adapter or special operating sequence is required, that information belongs in the instruction manual before artwork approval.
5. Test the headphone output and quiet-practice use
A headphone jack is often treated as a small feature, but customers notice it immediately when it behaves badly. Check left and right output, background noise, level control and whether the speaker mutes as intended. Try more than one common pair of headphones rather than relying on a single test set.
Also review the wording used on the control panel and manual. “Headphone,” “phones” and icon-only labels can all work, but the choice should stay consistent across the enclosure, manual and carton.
6. Verify power and battery performance under agreed conditions
Battery testing needs a written condition. Volume, connected functions, Bluetooth use and test duration all affect the result. The QG-15 page states a built-in lithium battery with an expected operating time of 6–8 hours. Before a buyer repeats that statement in packaging or sales material, the sample test condition and the final production configuration should be confirmed.
Check the external power supply, charging behavior, indicator lights and what happens near low battery. Note the charger or cable included with the sample. If the target market requires a different plug, label or document, settle that before packaging files are released.
7. Review enclosure, branding and control labels together
Do not approve color from one photograph and logo placement from another. Put the physical sample, artwork file and packaging proof side by side. Look at surface finish, grille alignment, corner protection, handle or feet, control-panel printing, logo size and the spacing around ports and switches.
Color also needs a practical reference. A color name such as “cream” or “yellow” is not precise enough for production control. Use an approved physical sample, color chip or agreed tolerance, then photograph the approved unit under neutral light for the project record.
8. Pack the exact accessories that were approved
Make an accessory list and physically place every item next to the sample: power supply or charging cable, manual, warranty card, protective materials and any market-specific label. Confirm quantities, bagging, carton marks and the order in which the items are packed.
Then test the complete package, not just the amplifier. The retail box and export carton should be reviewed for fit, movement, surface protection and handling risk. A good-looking sample can still arrive damaged if the internal clearance or protective material changes during production.
9. Turn the approved sample into a usable production reference
Approval should end with a clear record. Keep dated photos of all sides, the control panel, labels, accessories and packaging. Attach the final artwork files and configuration sheet. List any accepted differences and any items that must be corrected before production.
For projects with several stakeholders, a short change log is valuable. It prevents an old photo or earlier sample from being used months later. Our guide on controlling changes from golden sample to bulk production explains how to carry that reference into later inspections.
A practical approval note is better than a quick “OK”
The goal is not to make sample approval slow. It is to make the decision clear enough that the same product can be built, checked and packed again. A concise record of functions, test conditions, appearance, artwork and packaging saves more time than it adds.
If you are evaluating a portable amplifier program, you can review the current guitar amplifier range or contact the SoundSentry technical team about QG-15 sampling and OEM/ODM requirements. Include your destination market, expected quantity, branding request and the functions you need to confirm.
Plan Your OEM/ODM Project
Share your target product, market, estimated quantity, branding, packaging and certification requirements with the SoundSentry Technical Team.
View Related Products Request Product Information or a Quote